


rarely does cook's illustrated disappoint me. this is one of those times. but they did not fail jason.
it's the dang jalapenos. they got me. these enchiladas are waaaaay too hot for me, all i could taste is heat. but jason, he ate these suckers up without batting an eyelash. long story short: yes, i'll make them again, without the raw jalapeno and with half the pickled jalapenos.

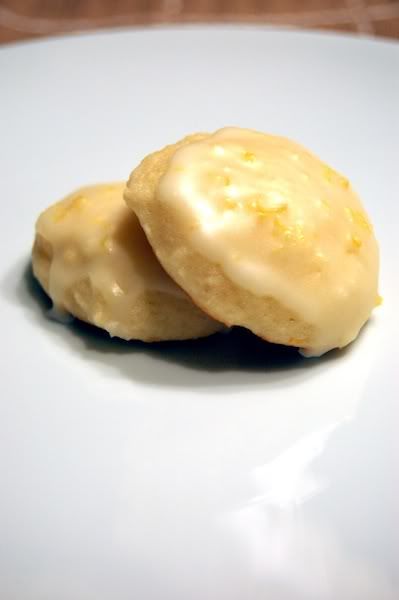
cook's illustrated's chicken enchiladas with red sauce
adapted from cook's illustrated
about 1 hour, serves 4-6
1 medium onion, diced
3 garlic cloves, minced
3 tablespoons chili powder
3 teaspoons cumin
2 teaspoons sugar
16 ounces canned tomato sauce
1 cup water
1 pound boneless skinless chicken breasts, whole
2 cups shredded cheddar cheese
3 tablespoons pickled jalapeno, chopped
1 fresh jalapeno, minced
1/2 cup cilantro, minced
12 6 inch corn tortillas
- coat the bottom of a large saucepan with olive oil and heat over medium low heat. add the onions, cover, and cook until the onions are soft, about 8 minutes.
- stir in the garlic, chili powder, cumin, and sugar and cook until fragrant, about 30 seconds.
- stir in the tomato sauce and water and bring to a simmer. cook until thickened, about 5 minutes.
- place the chicken in the sauce. reduce heat to low, cover, and cook until the chicken is cooked through, about 10 minutes.
- transfer the chicken to a plate and set aside.
- strain the sauce to remove solids and season with salt and pepper.
- when the chicken is cool enough to handle, shred into bite size pieces. toss the chicken with about 1/2 cup of the sauce, 1 cup cheddar cheese, jalapenos, and cilantro and season with salt and pepper.
- preheat your oven to 300F. spray a 9x13 inch pan with non stick spray. set aside.
- warm the tortillas in the microwave so they are pliable. place about 1/3 of a cup of the chicken mixture in each tortilla. roll each and place them seam side down in the pan. continue until the pan is full.
- pour the remaining sauce evenly over the enchiladas. sprinkle with the remaining 1 cup cheddar cheese. cover with foil and bake about 25 minutes, or until the enchiladas are heated through.


 Popular
 Tags
Tags Videos